
Expert Installation Tips for Your Mini-Split HVAC System
- Jay
- Jan 4
- 4 min read
Installing a mini-split HVAC system can be a game-changer for your home comfort. These systems are efficient, versatile, and can significantly reduce your energy bills. However, proper installation is crucial to ensure optimal performance and longevity. In this guide, we will explore expert tips for installing your mini-split HVAC system, helping you achieve the best results.

Understanding Mini-Split HVAC Systems
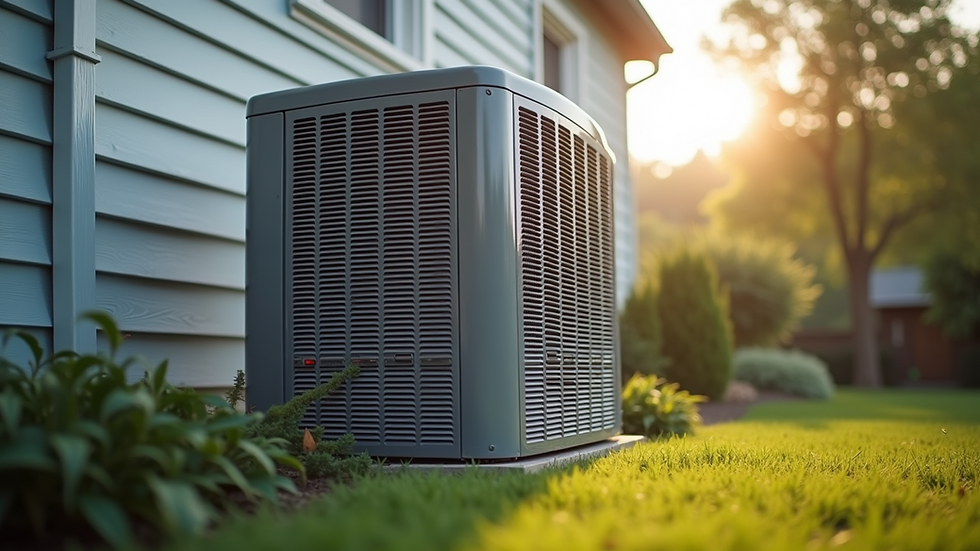
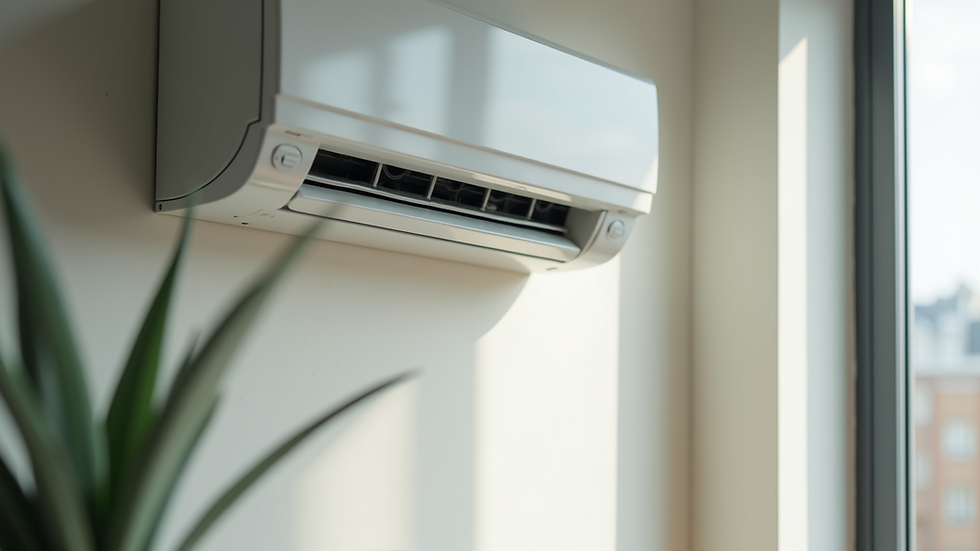
Before diving into installation tips, it’s essential to understand what a mini-split HVAC system is. Unlike traditional HVAC systems, mini-splits consist of two main components: an indoor unit and an outdoor unit. The indoor unit is responsible for cooling or heating the air in your space, while the outdoor unit houses the compressor and condenser.
Benefits of Mini-Split Systems
Energy Efficiency: Mini-splits use inverter technology, allowing them to adjust their speed based on the cooling or heating demand. This results in lower energy consumption.
Zoning Capability: You can control the temperature in different rooms independently, providing personalized comfort.
Easy Installation: Mini-splits require only a small hole for the refrigerant line, making installation less invasive than traditional systems.
Preparing for Installation
Choosing the Right Location
Selecting the right location for both the indoor and outdoor units is crucial. Here are some tips:
Indoor Unit: Install the indoor unit high on the wall for optimal airflow. Ensure it’s away from direct sunlight and obstructions like furniture.
Outdoor Unit: Place the outdoor unit on a stable surface, away from debris and direct sunlight. Ensure there’s enough clearance for airflow.
Tools and Materials Needed
Before starting the installation, gather the necessary tools and materials:
Drill
Level
Screwdriver
Refrigerant lines
Electrical wiring
Mounting brackets
Insulation tape
Step-by-Step Installation Guide
Step 1: Mount the Indoor Unit
Mark the Location: Use a level to mark the position of the indoor unit on the wall.
Drill Holes: Drill holes for the mounting bracket and the refrigerant line.
Install the Bracket: Secure the mounting bracket to the wall using screws.
Run the Refrigerant Line: Create a small hole in the wall for the refrigerant line and electrical wiring.
Step 2: Install the Outdoor Unit
Position the Unit: Place the outdoor unit on a level surface, ensuring it’s stable.
Connect the Refrigerant Lines: Carefully connect the refrigerant lines from the indoor unit to the outdoor unit.
Secure the Unit: Use brackets to secure the outdoor unit to prevent movement.
Step 3: Electrical Connections
Power Supply: Ensure the power supply is turned off before making any electrical connections.
Connect Wiring: Follow the manufacturer’s instructions to connect the electrical wiring between the indoor and outdoor units.
Test the Connections: Double-check all connections for security and correctness.
Step 4: Vacuum the System
Before adding refrigerant, it’s essential to vacuum the system to remove any air and moisture:
Connect the Vacuum Pump: Attach the vacuum pump to the service port on the outdoor unit.
Run the Pump: Turn on the vacuum pump and let it run for at least 30 minutes.
Check for Leaks: Monitor the pressure gauge to ensure there are no leaks in the system.
Step 5: Add Refrigerant
Once the system is vacuumed, it’s time to add refrigerant:
Open the Refrigerant Valves: Carefully open the service valves on the outdoor unit.
Monitor Pressure: Use a pressure gauge to ensure the system is charged correctly.
Final Steps and Testing
Step 6: Test the System
After installation, it’s crucial to test the system to ensure it’s functioning correctly:
Turn on the Power: Restore power to the system.
Check the Thermostat: Set the thermostat to the desired temperature and check if the system responds.
Monitor Performance: Observe the airflow and temperature to ensure the system is operating efficiently.
Step 7: Insulate and Seal
To maximize energy efficiency, ensure all connections are properly insulated and sealed:
Insulate Refrigerant Lines: Use insulation tape to cover the refrigerant lines.
Seal Wall Openings: Use caulk to seal any gaps around the wall openings.
Maintenance Tips for Longevity
To keep your mini-split HVAC system running smoothly, regular maintenance is essential:
Clean Filters: Check and clean the air filters monthly to ensure optimal airflow.
Inspect the Outdoor Unit: Regularly check the outdoor unit for debris and ensure it’s clear for airflow.
Schedule Professional Maintenance: Consider scheduling a professional maintenance check at least once a year.
Common Mistakes to Avoid
When installing a mini-split HVAC system, avoid these common mistakes:
Incorrect Sizing: Ensure the system is appropriately sized for your space. An undersized unit will struggle to cool or heat effectively, while an oversized unit will cycle on and off too frequently.
Poor Location: Avoid placing the indoor unit in a location with obstructions or direct sunlight, as this can affect performance.
Neglecting Electrical Safety: Always turn off the power before making electrical connections to avoid accidents.
Conclusion
Installing a mini-split HVAC system can significantly enhance your home comfort. By following these expert installation tips, you can ensure that your system operates efficiently and effectively. Remember to prioritize proper placement, secure connections, and regular maintenance for the best results. If you’re unsure about any step, don’t hesitate to consult a professional for assistance. Enjoy the benefits of your new mini-split system and take control of your indoor climate!

Comments